Introduction
A young female Egyptologist has discovered that there must be an old Atlantean-Egyptic site at a well in the Hoggar Desert in Algeria in North Africa.
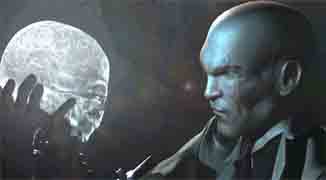
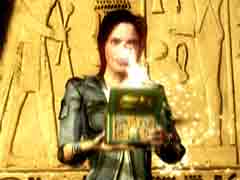
Bus someone has come there before her, and the game starts with this man finding a glowing skull, which means that he from now on has the Ultimate Power.
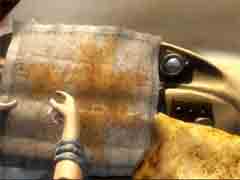 
The Egyptologist arrives to the Hoggar desert in her jeep.
She looks at her maps and is sure that she has found the right place.
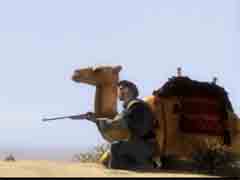
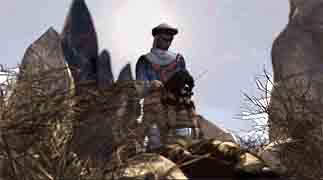
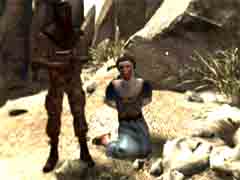
Suddenly she sees a young man, a Targui, hidden behind his camel and pointing at something with his gun.
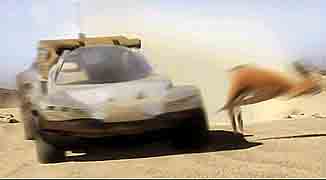
She looks at him, not paying attention to her surroundings. A gazelle jumps in front of the car and the crash is unavoidable.
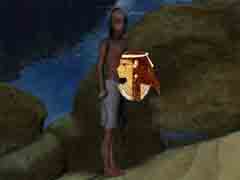
When she wakes up she finds herself in an unknown tent. Outside she can see the Targui sitting at fire. He tells her about the accident, that he found her unconscious, and took care of her.
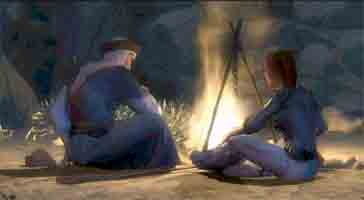
She asks who he is and what he is doing here. The man tells her that some guards have prevented him from taking water in a well his family has used for years.
Now he must kill the guards and reclaim the well.
She tells him her story but the man seems not to believe her. This place is too far from Egypt. But the woman insists. This is what her research has shown and she is going to search for the site.
When the man leaves she follows him unseen.
The Cave in the Desert
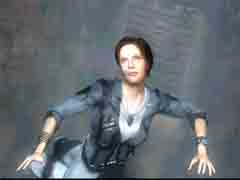
 In this game you play the female Egyptologist. In this game you play the female Egyptologist.
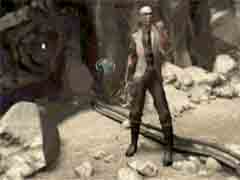
When you regain control you are standing in the desert.
Go one step forward. Turn to the left and take two more steps forward.
You realize that this must be the place.
A guard with a gun is standing before you.
Save the game.
Click at the guard and you'll get three subjects to talk about. It is a bit difficult to understand what the questions are about but the first concerns the site, the second is about water and the third about the guard.
You do not have to talk to him but if you want to, you can use one of the subjects. If you use two he will kill you and you have to start all over again if you don't have a saved game to load.
  From the guard you can go in two directions. Turn around. From the guard you can go in two directions. Turn around.
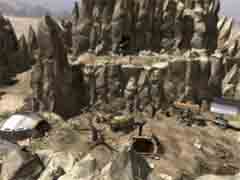
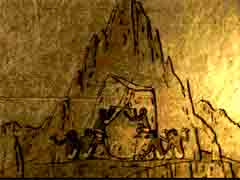
If you go to the right you'll go to the top of the mountain and get a good view of the site but you have to return down again.
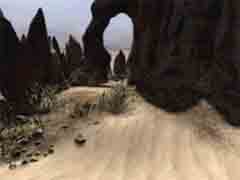
To the left you can see a path with some small bushes. Take it.
Turn left again and walk towards the bent cliff.
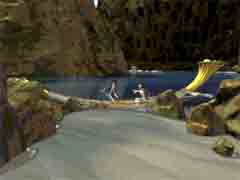
You meet with an unfriendly guard. He tries to seize you but the Targui saves you again and kills the guard. He tells you to leave quickly while he gets rid of the body.
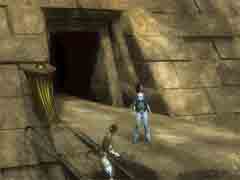
Obey him. Turn left and go through the hole in the cliff.
Look down. There are some cables on the ground. Turn around and you can see that the cables are coming from a cave. Enter the cave.
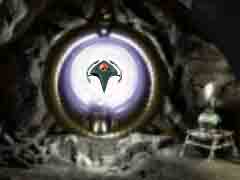 
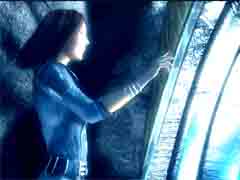
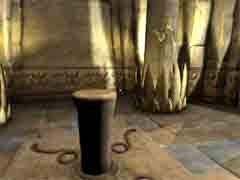
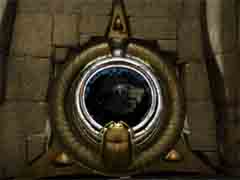
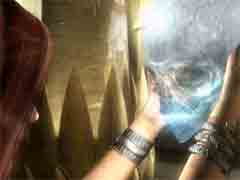
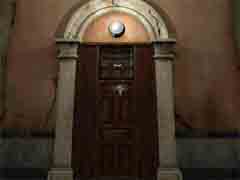
Walk forward towards the round lightened membrane.
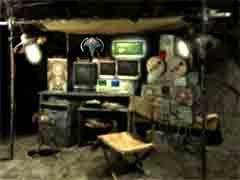
Look to the right. There are some sophisticated equipment. You can investigate it if you want to, but you can't use it.
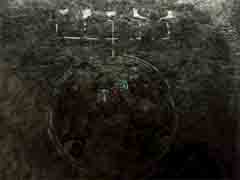 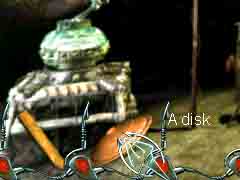 Look at the floor. There is a big circle and above it five different symbols. Surely you are supposed to do something with them, but what. You can't use the equipment. Remains the Inventory. Right click and open the Inventory. You have got a disk and a stick. They resemble the parts of a toy top. Look at the floor. There is a big circle and above it five different symbols. Surely you are supposed to do something with them, but what. You can't use the equipment. Remains the Inventory. Right click and open the Inventory. You have got a disk and a stick. They resemble the parts of a toy top.
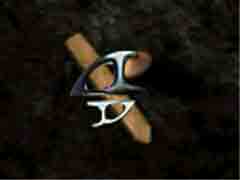  Click at the disk to take it. (The pointer will become a disk.) Click at the disk to take it. (The pointer will become a disk.)
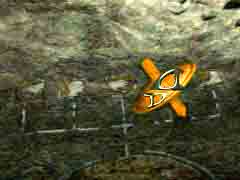
Then click at the circle to put the disk there. Take the stick and put it on the disk and you'll have a peg-top.
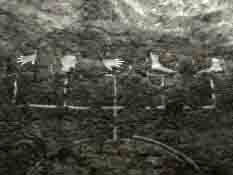
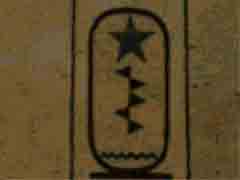
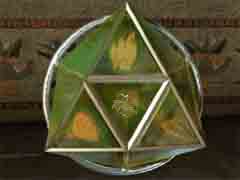
Place the peg-top on one of the symbols and it starts whirling around, visiting some special points at the circle. When it stops a star is shown
  Try putting the top on different symbols. Notice that if the top visits a spot where there already is a star, the star is erased. Your goal is to place the top on all the symbols so that you get five shining stars. Start with the symbol that makes the top visit all the places before it stops, then the one, that makes it visit all places but one, and so on. Try putting the top on different symbols. Notice that if the top visits a spot where there already is a star, the star is erased. Your goal is to place the top on all the symbols so that you get five shining stars. Start with the symbol that makes the top visit all the places before it stops, then the one, that makes it visit all places but one, and so on.
Name the symbols A-E from left to right. The right order is then: D, A, C, E, B.
The sepulchre
 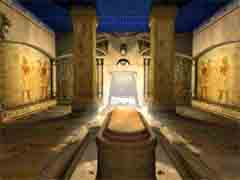 When you have all five stars shining the membrane opens and you enter the next room. Your research has led you right, this must be the place. When you have all five stars shining the membrane opens and you enter the next room. Your research has led you right, this must be the place.
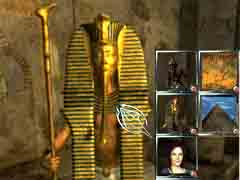
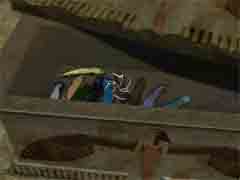
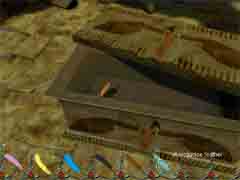
At the middle of the room there is a big sarcophagus and there are paintings on all the walls.
The staircase at the back is not accessible. And you can't open the sarcophagus.
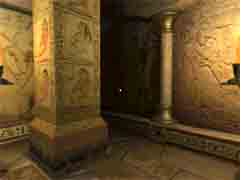  Search the room carefully. Search the room carefully.
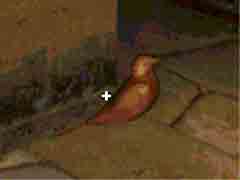
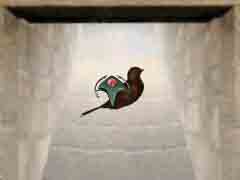
At the bottom of the right pillar you'll find something. It is hard to see but as the pointer is activated so pick it up. It is a wooden bird. Right click to put the bird away
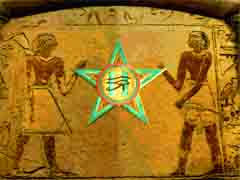  Look at the wall paintings. On the left wall you can see a star between two figures. You can turn it both to the left and to the right. But there must be a pattern how to do it. Look round for something that indicates left and right. Look at the wall paintings. On the left wall you can see a star between two figures. You can turn it both to the left and to the right. But there must be a pattern how to do it. Look round for something that indicates left and right.
At the right wall there is a figure with a star and small arrowheads turned left and right. This can be the clue.
Click at the star in the same order as the arrowheads from top to bottom. Left, right, right, left, right.
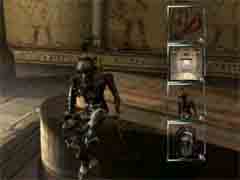
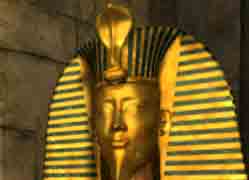
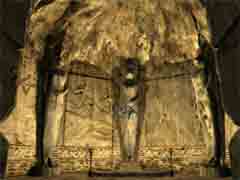
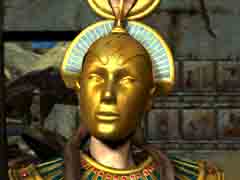
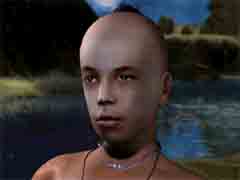
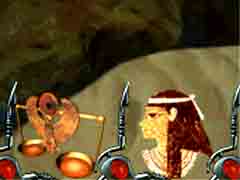
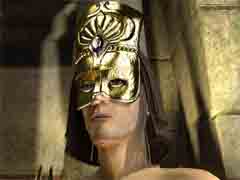
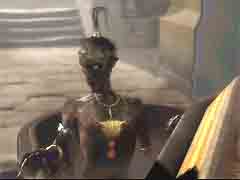  It works. The lid is opened a strange figure is coming out. It works. The lid is opened a strange figure is coming out.
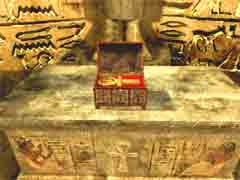
He introduces himself as your personal Psychopomp, who will help you with your commission in this illusionary land. He gives you a box with a golden scarab on the lid. Open it. Inside is a living scarab bur it is not very lively.
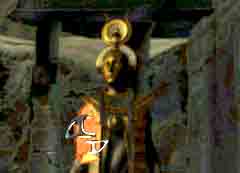
  Click at the Psychopomp to get some subjects to talk about. Use them all. He suggests that you try the stairs. Click at the Psychopomp to get some subjects to talk about. Use them all. He suggests that you try the stairs.
You have done that earlier without any luck, and it is not better this time. The only things you have in your inventory is the bird and the scarab. The bird is a symbol for flying. Use the bird on the stairs.
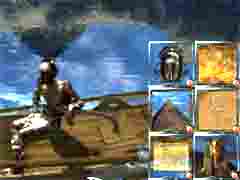
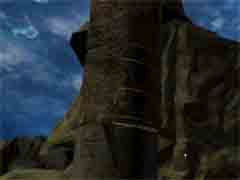
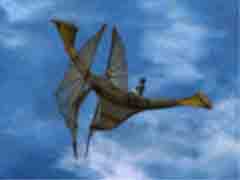
  You are both lifted by an air stream and taken to a balcony outside the pyramid. An Airship with a design that reminds you of Atlantis 1 is anchored there. The Pomp is urging you to come aboard. You are both lifted by an air stream and taken to a balcony outside the pyramid. An Airship with a design that reminds you of Atlantis 1 is anchored there. The Pomp is urging you to come aboard.
 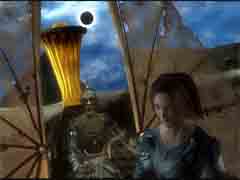
Talk with the Pomp about everything. The ship is flying with the gods help, didn't you realize that.
You seem to have some errands here. He can't explain in detail but says something about rebirth.
Enter the ship and your journey begins.
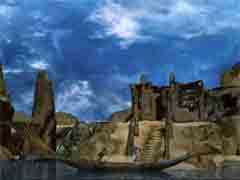
Temple of the High Priest
You stop in front of a temple. Talk to the Pomp and he tells you to enter it.
Walk forward as far as possible and you'll find the High Priest.
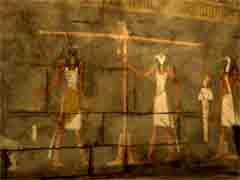
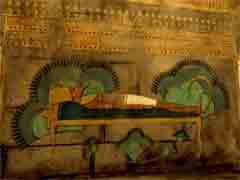  He shows you the painting of Pharaoh on the wall and tells you that Pharaoh is dying. He shows you the painting of Pharaoh on the wall and tells you that Pharaoh is dying.
You must find the feather so that Pharaoh can die and be judged.
You also have to find the Symbol of Life to make the Bennu-Bird die and be reborn.
The Bennu-Bird will then go to heaven and guide Pharaoh back to earth so that he can be reborn.
Click at the priest and you'll get a lot of subjects to talk about but the priest is silent or repeats himself
 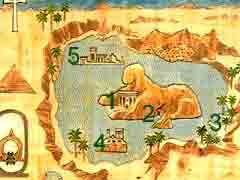 You must find the Feather of Judgement and the Feather of Live so that Pharaoh can be reborn. Just start looking for it. You have got a map in your inventory. Look at it. Just click at the place where you want to go and the Pomp will take you there. You must find the Feather of Judgement and the Feather of Live so that Pharaoh can be reborn. Just start looking for it. You have got a map in your inventory. Look at it. Just click at the place where you want to go and the Pomp will take you there.
The digits marks the following places.
1 Temple of the High Priest
2 Ankh Temple
3 Shore
4 Feather Island
5 Temple of Isis
You are now at the pace marked 1. Ask the Pomp to take you to place 2, the Ankh Temple.
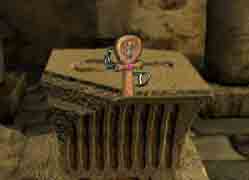
Ankh temple
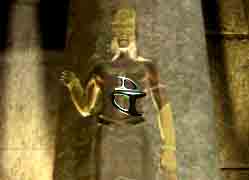
  Enter the temple and walk forward to the altar. Enter the temple and walk forward to the altar.
Open the box and take the Symbol of Life.
Return to the Pomp.
You can ask him about the symbol and he tells you it will summon the Bennu-Bird.
Get your map and click at number 5, the Temple of Isis.
Temple of Isis
Enter the temple and walk to the priestess.
The only thing she says is that their history is forgotten and you must give it a meaning.
Whatever you ask her she says the same words.
Go to the wall behind the priestess.
There are 12 sentences and 12 pictures all of them in no order at all.
The sentences are written in a strange language but you can click at them for a translation.
Start with placing the sentences so that you get an understandable story.
This is the correct order.
1 - Osiris son of the Earth and Sky, is Pharaoh and Isis, his sister, is Pharaoh's wife, she brings knowledge to Egypt.
2 - Seth, twin to Osiris, is jealous of his brother and plans his murder.
3 - During a feast, Seth offers a splendid coffer to anyone who fits perfectly inside it.
4 - All the Guests try the coffer, but only Osiris can lie down inside it.
5 - Before Osiris can leave the coffer, it is shut fast by Seth's servants and thrown into the Nile.
6 - Isis seeks her lost husband. At Byblos, she sees the coffer caught in the branches of a tree.
7 -She hides Osiris in a swamp, but Seth learns of her actions and determines to discover his brother's whereabouts.
8 - He finds him and cuts him into 14 pieces, which he hides throughout Egypt.
9 - The faithful wife succeeds in recovering 13 of the pieces.
10- She puts the body back together and prepares it with oils and perfumes. Then she wraps it in bandages. He appears almost reborn!
Strip 11: After that, she lies with him and conceives their son, Horus the Falcon...
Strip 12: who one day will avenge his father, henceforth King of Dead.
Find the first text and move it to the first place. Then find the picture that suits the text and move it to the first place. Then take the other texts and picture in order.
At the following picture you can see the correct order of the texts and the pictures. They are placed in a random position that differs from time to time.

When everything is correct the priestess will give you a talisman. Take it and put it in your inventory.
Return to the Pomp. Ask him about the talisman if you want to.
Get the map and click at the shore to be taken there.
The Shore
Look around. Walk to the fisher boy and talk to him.
He has no luck, he gets no fish.
Maybe your talisman can help him.
 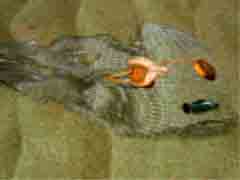
Give him the talisman. He throws the net again and now he gets some fish. But there is another object in the net. Take it.
  When you tell the boy he can keep the talisman he gives you a stone icon to thank you. When you tell the boy he can keep the talisman he gives you a stone icon to thank you.
Open the inventory and look at what you have got.
Return to the pomp and ask him about the objects. He says the object you found in the net is weighty. He can even be funny when he wants to.
Grt the map and click at number 4, Feather Island.
 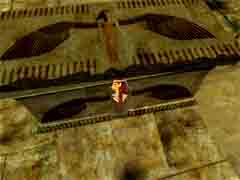
Walk forward and enter the temple. There you'll find a locked chest. Look at the pictures. Do you recognize them. It is the same picture the boy gave you.
Use the stone icon on the lock and the chest will open.
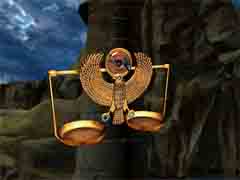
  Inside you'll find 10 feathers of different colors. You shall determine which feather is the heaviest. Inside you'll find 10 feathers of different colors. You shall determine which feather is the heaviest.
You have find the scales but you must found somewhere to hang it before you can use it.
Turn left and walk to the pillars. Look closely and you'll see a pin. It is not easy to see but search with your pointer until it gets active.
 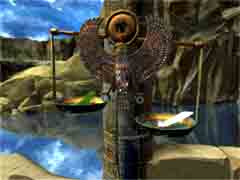 Use the scales on the pin and you can start weighing the feathers. Use the scales on the pin and you can start weighing the feathers.
The correct feather is chosen randomly and is different from game to game so you must always compare all feathers.
Get them from the inventory in order from the left.
Put one feather on each plate.
If they weigh the same, put them both back. They will be placed to the right of the other feathers.
If one feather is heavier so keep it and put away the other. Pick up the leftmost feather and test it. If one is heavier so keep it and put away the other. Do like this until you have compared all the feathers until you have found the heaviest of them all.
  Keep it on the scales while you put all the others back in the chest. Then get the feather from the scales and return to the Pomp. Keep it on the scales while you put all the others back in the chest. Then get the feather from the scales and return to the Pomp.
You can talk to him if you want and see if you have got some new subjects.
Then click at point 1 at the map and go to the Temple of the High Priest.
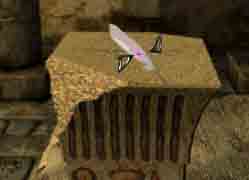  Where the priest is standing there are two pillars. The left one has an engraved feather. Put your feather there. Where the priest is standing there are two pillars. The left one has an engraved feather. Put your feather there.
If you have found the correct feather, Pharaoh dies and is taken to heaven. Have you got an incorrect feather he goes to hell and you have to try again
  Now go to the right pillar. It is engraved with the Symbol of Live. Now go to the right pillar. It is engraved with the Symbol of Live.
Get the symbol and place it on the pillar.
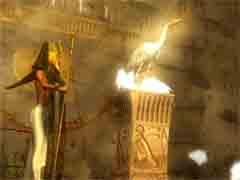
The Bennu-Bird arrives, is burned to ashes and reborn from an egg, Then it flies out to guide the Pharaoh to be reborn and the world to be healed.
You have fulfilled your mission.
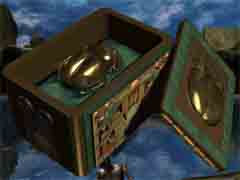  Return to the Pomp. Remember he told you to look a the scarab from time to time. Return to the Pomp. Remember he told you to look a the scarab from time to time.
Get the box and open it. The scarab has turned into gold.
You can talk to the Pomp about it if you like.
Then get your map and click at the Ankh temple to go there.
The Hidden Room
  Go to the altar and open the scarab box. Go to the altar and open the scarab box.
The scarab flies away and you follow.
You find yourself is the hidden room but is different now, the illusion is lost.
The sarcophagus has vanished and so have the wall paintings.
  On one pillar is a picture of a man. On one pillar is a picture of a man.
The pointer gets active but nothing happens.
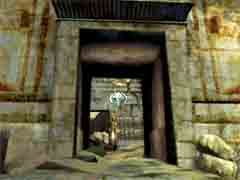
Go to the membrane. The golden scarab sits there holding the passage open.
Walk through the membrane and you are back in the first cave.
The Cave
  You hear some shots from outside. You hear some shots from outside.
Go through the opening,
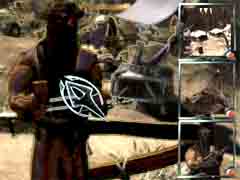
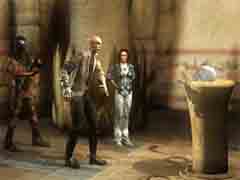
Your friend the Targui is taken prisoner and is kneeling on the ground. At the other side is man waving a pistol, beckoning you to come.
He won't tell his name but you understand he is the one who has been working in the cave.
He is surprised when he learns that you have entered through the membrane and wants you to show him.
The Hidden Room
You don't tell him everything but lead him into the room. He says it has been built exclusively for the skull he has found. He is going to demonstrate something but it fails.
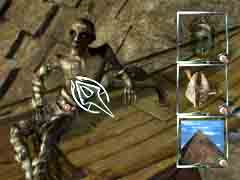
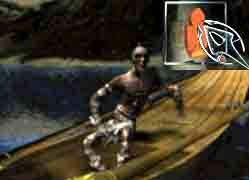
Instead he tells you to take the skull and look closely into the eye sockets.
| 


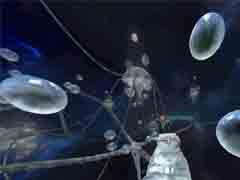
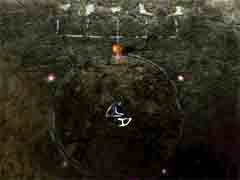
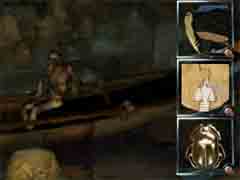
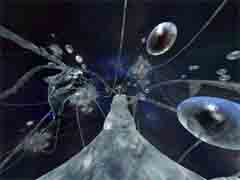
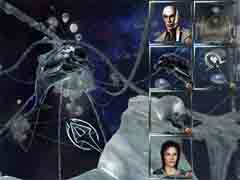
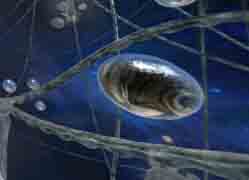
 You'll come to a maze of ways and bubbles. From every platform there are four ways. It is not a difficult maze. Whichever way you take you'll end up at the right place sooner or later but let us make it sooner. At first you think all ways are the same but try to see the differences and look at the pictures.
 Turn around and you'll see a dolphin. Talk to him. He tells you to seek the corridor. First you shall take the first door to the left and then the third door to the right. But where are the doors?
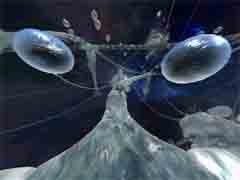
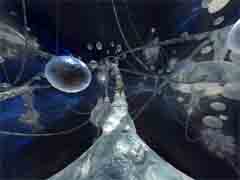
 At the next platform take the second way to the right.
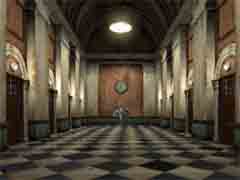
 You come to a corridor. Do as the dolphin told you. Exit through the first door to the left.
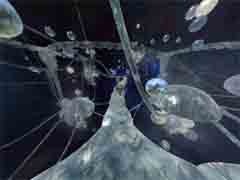
 Turn around and talk to the dolphin again. This time you get a lot of subjects.
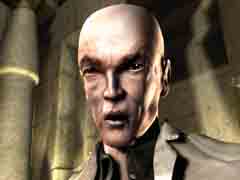
 You'll return to the hidden room and the man with the pistol is there to welcome you back.
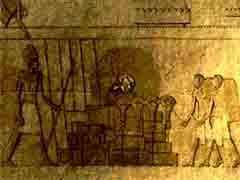
 The pillar-man tells you a story.
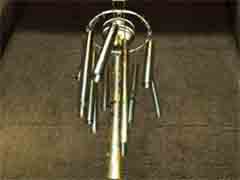
 Notice that some sort of bell has appeared hanging from the roof. Touch it.