|
1 - The Island World
Hannah
From isle to isle
Ramps and lifts
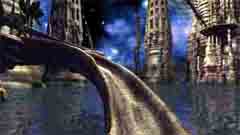  Hannah has landed in a world of small islands. Hannah has landed in a world of small islands.
For the moment you are controlling Hannah. You can at any time shift between Sam and Hannah by just clicking at the person in the lower right of the screen. In this guide I let one person act as long as it is convenient.
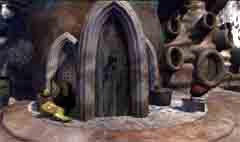
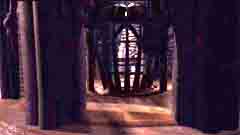
Look around. You are standing on a small plateau in the water, the only thing you can do is to walk the ramp.
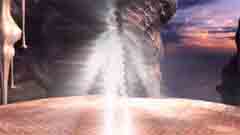
When you have reached the top you'll see a brief flash of a bright light. You can't do anything but turn to the right and take the ramp to the third floor.
  When you search the screen with the cursor you'll find two ways to go forward. First choose the right one. When you search the screen with the cursor you'll find two ways to go forward. First choose the right one.
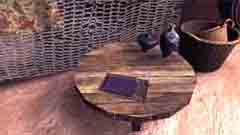
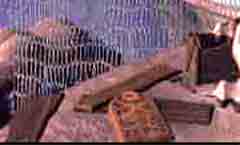
Turn to the right and you'll see something on a table. Look at it. Hannah says it is a mission log but it is wiped. Not much help there.
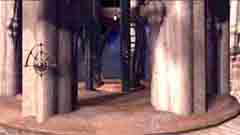  Return and go left and you'll see a lift. If you click inside the lift will come down. Enter it. Turn around and click at the upper triangle to go to the third floor. Return and go left and you'll see a lift. If you click inside the lift will come down. Enter it. Turn around and click at the upper triangle to go to the third floor.
  In front of you is a similar lift but the entrance is at the other side. Look to the right. There is a big button to call a gondola but don't do it yet. In stead walk to the left of the other lift and you'll reach a new ramp. Take it to the next floor. In front of you is a similar lift but the entrance is at the other side. Look to the right. There is a big button to call a gondola but don't do it yet. In stead walk to the left of the other lift and you'll reach a new ramp. Take it to the next floor.
Small trees are growing everywhere. Walk to the left and take the ramp to the next floor.
A new number system
  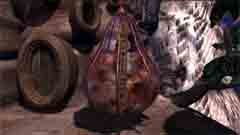 Walk to the right and you'll see a pear shaped bottle. There is some fluid inside reaching up to a level marked with two vertical bars under a horizontal one. It looks like a scale. Take a look at the different markings and see if you can find some symmetry. Walk to the right and you'll see a pear shaped bottle. There is some fluid inside reaching up to a level marked with two vertical bars under a horizontal one. It looks like a scale. Take a look at the different markings and see if you can find some symmetry.
It could be a number system. One vertical bar represents the number one, two vertical number 2 and three vertical number 3. Then they start again with one vertical bar but this time with a horizontal bar on top. Next time two vertical under a horizontal one. The next sign ought to have been three vertical under a horizontal one but that mark is missing. Instead they start again with one vertical this time with a horizontal one both at the top and bottom. The mark at the surface of the liquid must be 5 and the sign for the number 6 is missing.
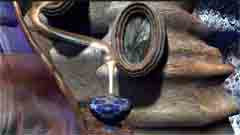  Look behind the bottle. There is a small blue bottle and a picture of a bee. You cannot take any of them. Look behind the bottle. There is a small blue bottle and a picture of a bee. You cannot take any of them.
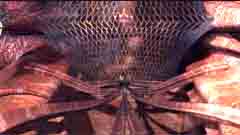
Listen and you'll hear a humming sound. Turn around and take a step forward, and you'll see the bees.
Walk down the ramp, to the left of the bees.
 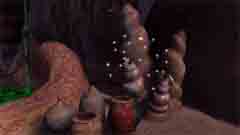 Enter the left lift and press the up-button to go to the forth floor. When you get there you'll see a green pool and a lot of bees. Enter the left lift and press the up-button to go to the forth floor. When you get there you'll see a green pool and a lot of bees.
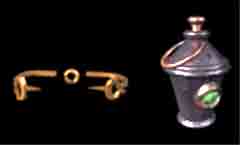
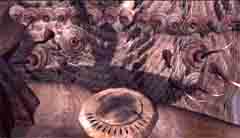
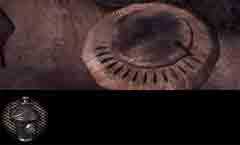
A strange urn
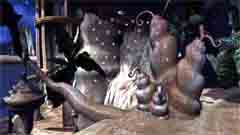
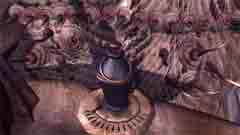
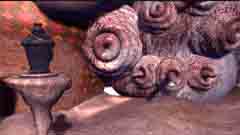  Walk to the left and you'll see the ramp to the fifth floor. Don't go there yet. Instead go to the left round the corner. On the wall are some lumps with protruding spines. On a pillar is an urn. Click at the top of the urn but check that the pointer is not a claw, in that case you just take the urn. Walk to the left and you'll see the ramp to the fifth floor. Don't go there yet. Instead go to the left round the corner. On the wall are some lumps with protruding spines. On a pillar is an urn. Click at the top of the urn but check that the pointer is not a claw, in that case you just take the urn.
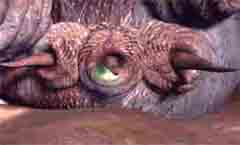  Observe closely what happens when you click the lid of the urn. There is a green light at one of the spines. That spine and its two neighbors change position. Click a couple of times, until you understand the mechanism. Then click at the urn (not the lid) and it is placed in your inventory. Observe closely what happens when you click the lid of the urn. There is a green light at one of the spines. That spine and its two neighbors change position. Click a couple of times, until you understand the mechanism. Then click at the urn (not the lid) and it is placed in your inventory.
  Turn around and take the ramp to the fifth floor. There you'll find another wiped mission log. Turn around and take the ramp to the fifth floor. There you'll find another wiped mission log.
Take the ramp to the next floor.
The first coordinate plate
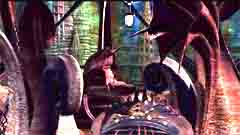
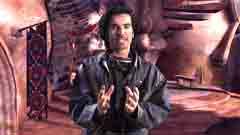 Suddenly a scientist appears or perhaps the ghost of a scientist. He appears and disappears with an optical effect all the time. He talks in broken sentences. Suddenly a scientist appears or perhaps the ghost of a scientist. He appears and disappears with an optical effect all the time. He talks in broken sentences.
"... find the plaques...
...were deliberately scattered so we couldn't get back to Bosh...
...navigational coordinates for operating the living ships, but they change all the time...
...old ones won't work now...
...new ones, the new coordinates...
...please help us! We're trapped in..."
This must mean that the scientists have not been able to reach Bosh Tunnel because the navigational coordinates, to go there, were changed. Now they are trapped somewhere and the new coordinates have been scattered. They are asking for help and you have to find the new coordinates.
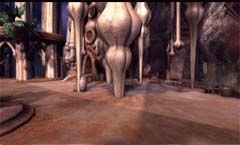
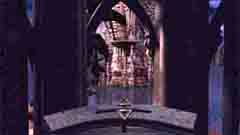
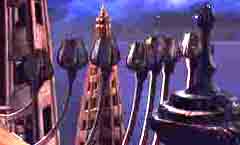  Turn right and you'll see eight black tulips. Go to the first one. Click at it and it opens. There is nothing in it. Turn left and go upstairs. Turn right and you'll see eight black tulips. Go to the first one. Click at it and it opens. There is nothing in it. Turn left and go upstairs.
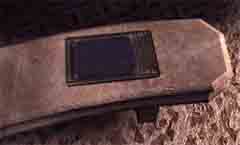
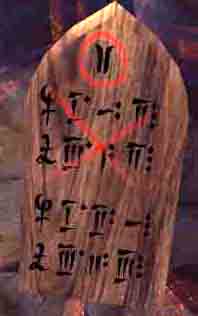
  Continue to the top. Look down. At the bottom of the screen there is a plaque. Click at it to get a close up. Continue to the top. Look down. At the bottom of the screen there is a plaque. Click at it to get a close up.
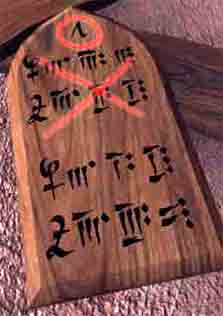
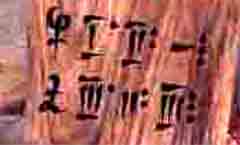
This must be one of the plaques the scientist talked about.
You recognize the symbols. You saw them earlier on the flask. Here you also find the number 6 that was missing from the flask.
The two upper rows are crossed, it must be the old coordinates. Translated to our number system they read: 3, 6, 2 and 6, 8, 7.
The two last rows read: 3, 4, 7 and 6, 9, 11.
The Tulip Puzzle
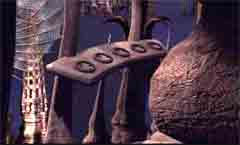  On your way down you pass a narrow table with five circles. On your way down you pass a narrow table with five circles.
Click at it to get a close up.
Click at the different circles. A tulip opens and tosses something to another tulip.
This is probably something that you should try to take.
  But the only tulip you can reach is the first one. You have to make the other tulips toss the thing to the first tulip. But the only tulip you can reach is the first one. You have to make the other tulips toss the thing to the first tulip.
As you probably have noticed by now is that you have to click once at each of the five circles but in what order?.
If every tulip made the same toss each time it would be simple. But the throw depends on which tulip throws and on the order in the sequence. The only way is to try all the combinations. It is only 120 so you can do it with a little patience. If you lack patience, mark the circles with A-E from left to right. Click C, A, D, B and E and the thing will come to the first tulip.
Walk downstairs and look into the first tulip. There you'll find the second coordinate plaque. Check the coordinates. The crossed ones read: 7, 10, 5 and 9, 1, 5 and the new ones 7, 8, 10 and 9, 2, 9.
Gondola to next island
  Return down to the floor with the two lifts and the button to call the gondola. Press it and the gondola comes and takes you to the next island. Return down to the floor with the two lifts and the button to call the gondola. Press it and the gondola comes and takes you to the next island.
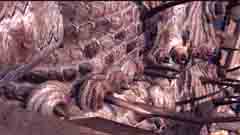
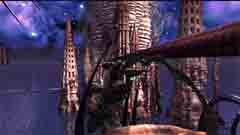
Turn right and take the ramp to the next floor. Recognize the spines? Click at them to get a close up. They look like the ones you earlier manipulated with the urn, you picked up.
  Zoom out and turn right. Zoom out and turn right.
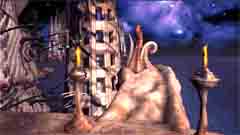
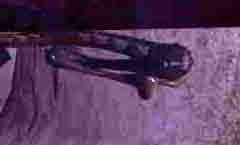
Walk on the short ramp and look behind the tentacles. You'll find a pillar similar to the one where you took the lamp earlier.
The Spine puzzle
  Click at the pillar. The pointer changes to a claw which means you can use something here. At the same time the urn in your inventory is high-lighted. When you click at the pillar the urn is placed there. Click at the pillar. The pointer changes to a claw which means you can use something here. At the same time the urn in your inventory is high-lighted. When you click at the pillar the urn is placed there.
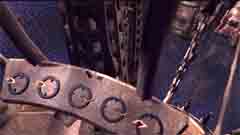
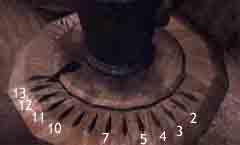
On the pillar are 14 small lines. At start the pointer is at the rightmost line. Move the pointer and click the lid of the urn. Look closely at the spines on the wall when you click.
One of them shows a green light. What happens with that spine and with its two neighbors. Check a couple of times and you'll notice that if you number the lines on the pillars from right to left you have to number the spines from left to right to make them correspond. It is the same principle here as it was earlier. When you click at a line the corresponding spine and its two neighbors change position. Your goal is to make all the spines long.
You sure realize that you have to start with the line 2 on the pillar. Click it, check the spines and decide your next move.
If you need help look at the right picture above and click in the marked order.
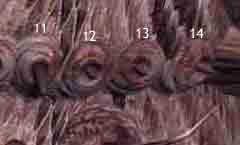  The left picture shows the spines before the last move. The left picture shows the spines before the last move.
If you put the pointer at the last but one line and slick, the three spines come out and all the spines are activated.
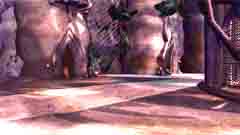
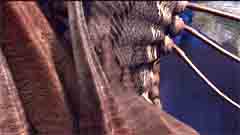
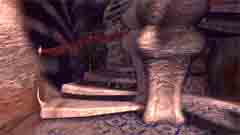
Walk to the wall with the spines. Step on them to go to the other side.
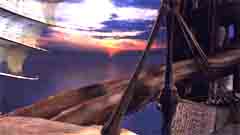
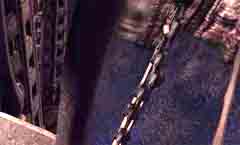
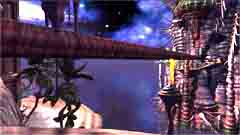  A long pole is barring your way. Turn right. The pole seems to come from the next island but you can't use the pole to go there. A long pole is barring your way. Turn right. The pole seems to come from the next island but you can't use the pole to go there.
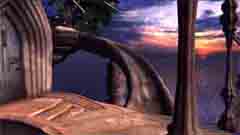
Click at the point where the pole ends at the wall. There is something under the pole. Click at it. It is a chair-lift. You are automatically transported to the next island.
The Living Ship
The coordinate-puzzle
  Turn right and walk down the ramp, you can see at the bottom of the screen. Turn right and walk down the ramp, you can see at the bottom of the screen.
Enter the lift and go up.
When you leave the lift look left. A strange plant with a bud in the middle. Click at it. It seems to be empty.
 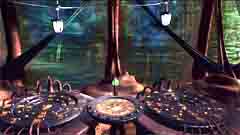 At the right side there is a console with some instruments. The rightmost one is not accessible but a bit further down there are three instruments and you can zoom in on each one separately. Examine all three of them. At the right side there is a console with some instruments. The rightmost one is not accessible but a bit further down there are three instruments and you can zoom in on each one separately. Examine all three of them.
 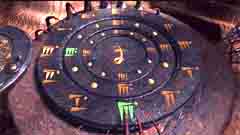 The instruments to the left and right are similar except for the symbol in the middle. The symbols are the same as the ones on the plaques. This must be the navigational instruments the scientist ghost spoke about. The instruments to the left and right are similar except for the symbol in the middle. The symbols are the same as the ones on the plaques. This must be the navigational instruments the scientist ghost spoke about.
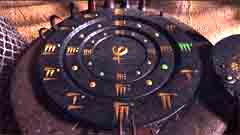
Both are divided into three circles. The signs at the outer ring are followed by one dot. In the center circle there are two dots and in the inner circle three dots. We use a similar system to show degrees, minutes and seconds in longitude and latitude, 15' 40'' 35'''.
Here there are only 12 instances of each coordinate.
At the moment the instruments show the new coordinates on plaque 1.
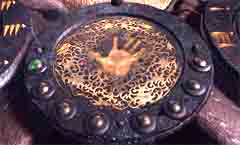  The central instrument has a hand in the middle. Click at it. The central instrument has a hand in the middle. Click at it.
Nothing happens. This must mean that the coordinates shown, are the ones for this position, where we are now. The new coordinates on plaque 2 must be those for Bosh Tunnel, according to the scientist. You can see them on the picture at the right.
  Now transfer these coordinates to the three rings on the two instruments. The upper row to the left instrument and the lower row to the right instrument as shown on the pictures. Just click the symbols to enter them. Now transfer these coordinates to the three rings on the two instruments. The upper row to the left instrument and the lower row to the right instrument as shown on the pictures. Just click the symbols to enter them.
Then click at the hand on the middle instrument and you are off. This must be the Living Island the scientist spoke about.
|