|
|
|
|


|
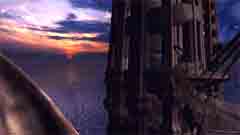
4 - BoschSamSearching for a base-station
|

 Exit the fish-balloon. Sam immediately tries to contact Hannah and this time he is successful. This means the are both at the same island but at different places.
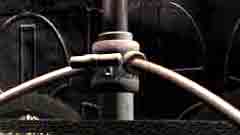
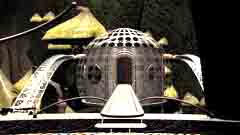
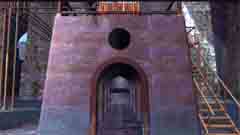
 Turn left and pull the handle to go up. Continue forward until you reach a three-lumped door. It is partly open but you can't enter. Go L, F, R. There is a similar door.
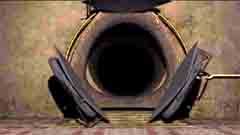
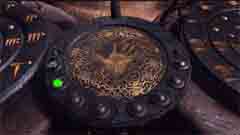
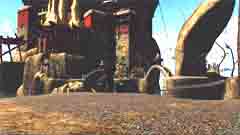 Zoom in on the golden circuit to the right of the door. Click at the center-button.
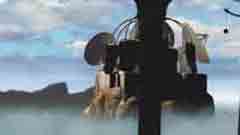
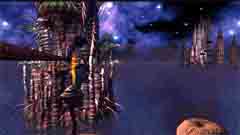
 Firstly turn left and see Base 1, lead by Angela Davies. Frances Bremmer (or her ghost) said that Angela had found something interesting here at Bosh. It seems impossible to reach the base, better examine the temple.
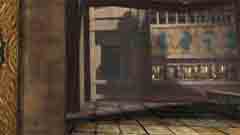
 Turn right and go forward. Notice the yellow symbol at the wall. Turn right again and go forward. Follow the narrow catwalk.
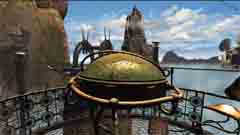
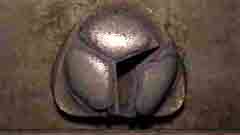
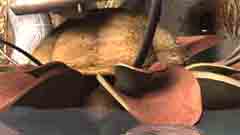
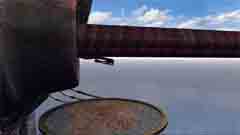
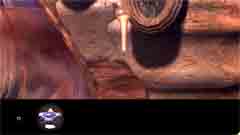
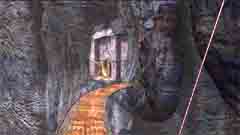
 You find a thing with a green domed lid. Click at it to seat down, then pull the handle to open the lid.
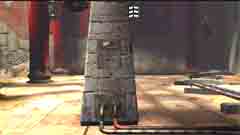
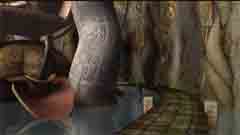
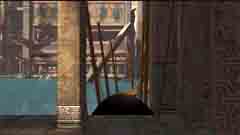
 Zoom in at the pillar in front of you.
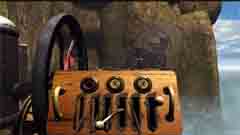
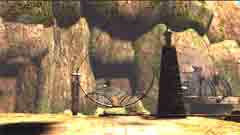
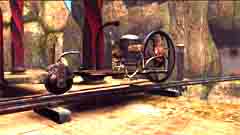
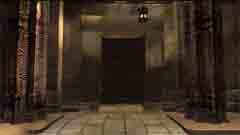
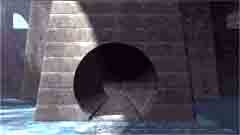
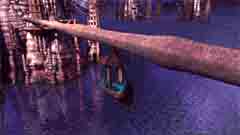
 Pull the right lever and get a ride. When the wagon stops walk forward into the black tunnel.
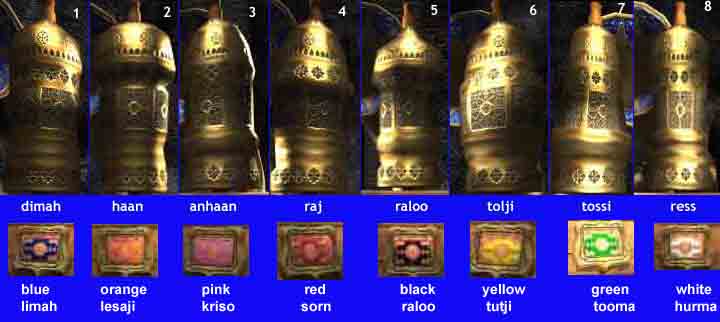
 Go to the tunnel with the monorail and follow it inwards.
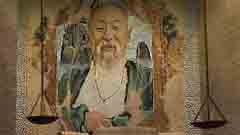
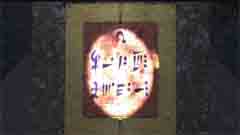
 There is a picture of an Asian priest and behind it a picture of a bee.
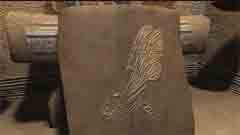
 There is also a picture showing the symbol for number 9 from the flask in the Island World.
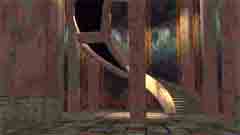
 Turn left to a spiral staircase. Walk upwards as far as you can. Then turn right and go forward to the second floor.
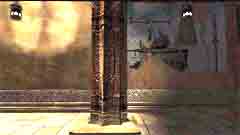
 Turn right and go forward. Look left. At the wall is a painting of a man measuring something. But you can't get a close look so turn right, go forward and turn left to a dark room. Enter it
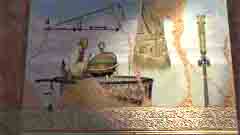
 Look at the right wall. It is the same painting you saw in the corridor. Zoom in to get a closer look.
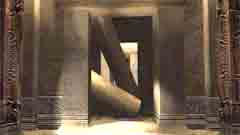 Look at the left wall. There is your unknown symbol and also five instruments. You must be meant to calculate this symbol on five different things, but which are these things. Better return to the instrument and find out.
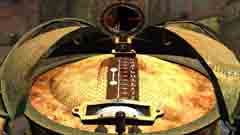
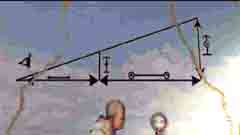
 Enter the platform and click at the lid to seat down. Look down and pull the handle to open the instrument.
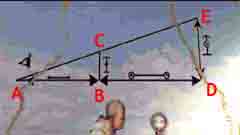 named AB at the picture below is exactly 10 units.
 Turn your seat and zoom in on the first pillar, counted from the wall. Measure the height by pulling the red line to the top of the pillar. The height is 4.
|
Pillar
|
BC
|
BD
|
AD
|
BCxAD/10
|
DE
|
|
1
|
4
|
45
|
45+10=55
|
4x55/10
|
22
|
|
2
|
5
|
16
|
26
|
5x26/10
|
13
|
|
3
|
7
|
20
|
30
|
7x30/10
|
21
|
|
4
|
4
|
25
|
35
|
4x35/10
|
14
|
|
5
|
6
|
35
|
45
|
6x45/10
|
27
|
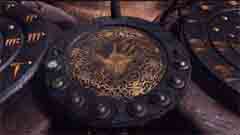
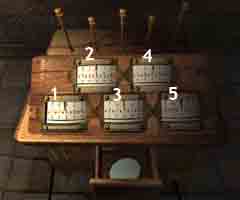 Return to the temple and go to the room with the five instruments. Number them 1-5 from left to right as on the right picture, and enter the calculated height of DE for each pillar in this order. Drag your pointer to the left until the hand of the scale points at the correct number. When all the numbers are entered correctly a drawer opens and you get a circular plate. Take it.
You have solved the triangle-puzzle.
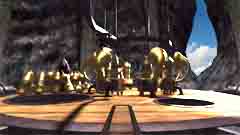
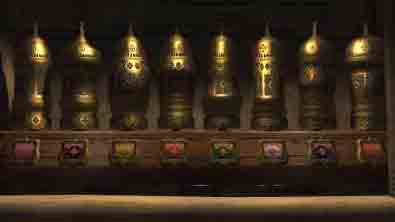
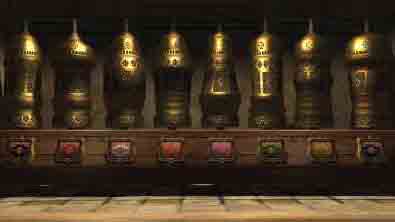
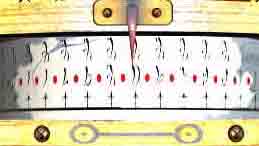
Exit the room. Go left and take the spiral stairs to the first floor. Enter the corridor and turn left. Take one step forward and look left. Eight prayer-grinders. Turn back, take one step forward and look left. A forth niche with eight prayer-grinders. All four sets of prayer-grinders have been placed in exactly the same order.
Turn right. You can't go any further so turn right again. Save your game you are going to need it.
The Prayer-Grinder Puzzle
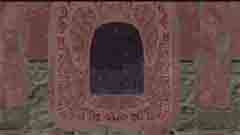
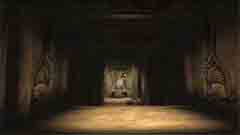
 You see a bridge leading to the other side of the pool passing a large statue . Go forward. When you come to the statue a priest appears. He says six words and disappears again. Listen carefully and note down what he says. If you haven't grasped the words, return to your saved game and listen again. Do this until you have grasped all six words. I had to do it many times and concentrate on one word at the time and at last I think it sounded like this: tossi, santoo, tolji, hurma, haan, tooma.
You have heard the words earlier when you listened to the prayer-grinders. Tossi, tulji and haan are grinder names the other three represents colors. You have better find some prayer-grinders. Turn right and follow the bridge to the other side of the pool. Turn right and take a step forward. Turn left and you'll see a fifth set of prayer-grinders. This time they are not standing in the same order as the previous four. This must mean that you shall study this set.
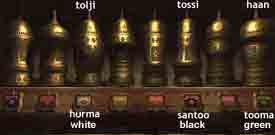
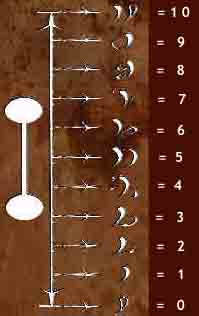
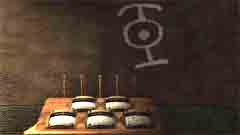
 You have to identify the grinders named by the priest. Look at your notes or at my pictures. The easiest one to find is the lumpy one, haan, number 8 on the left picture. Tooma means green. Pull the frame until the green color is shown. Then find the other two grinders. Tossi is number 6 and tolji number 3. Look at the colors. When you changed the color on the first grinder, the colors on the other two grinders were set automatically. Now you must click at the grinders in the same order the priest named them, 6, 3, 8. You'll hear the words again and if they are correct you can see the secret door opening.
 You can't reach the door from the bridge you must find another way. Zoom out and turn left. Take one step forward and enter the dark tunnel. You exit behind the statue. Go forward and turn left.
Bosh Tunnel
 Enter the secret tunnel. Go forward and you'll come to the computer-organ. Sam contacts Hannah and gives his position and Hannah gives her. They are at exactly the same spot but they can't see or hear each other except by radio. Sam thinks this is what happened to the scientists. By some optical interference they have been isolated from each other. Now some of them are trying to break that wall wanting to help Hannah and Sam but with poor result.
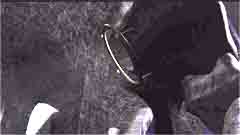
 Go to the big statue ( L, F, F, F, L, F, F, F, R.) Climb the statue. Point at the ring. The pointer changes to a claw and when you click, the round plate you got after solving the triangle-puzzle is placed in the ring. Climb down and look at the plate on the floor. Some new symbols are written on it. It must be coordinates to take the floating island to another location. Translated to our number system, the numbers in the first row are 10, 1, 9 and in the second row, 3, 12, 10.
A trip to the Island World
 There is nothing more he can do here so Sam decides to visit the Island World.
Turn left and walk forward to the end of the tunnel. Click at the chair twice to be transported to the Floating Island which is also called the Living Ship.
Walk down the ramp, take the lift and go to the instrument panel.
 Zoom in on the instrument in the middle and click at the first green button to go to the Island World, then click at the hand to take off.
It is a long journey and when you arrive night has fallen.
 Take the lift down and walk up the ramp. Take the chair-lift to he other island. Walk forward along the spines, take the ramp down and go to the gondola-button.
Press the button to be transported to the island where Hannah started
 Turn left and walk forward.
Turn right and walk forward.
Go up the ramp.
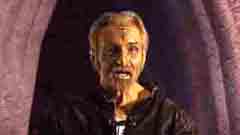
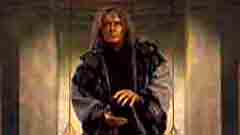
You'll see some houses. Wen you get there a door opens and man comes out.
He speaks English.
"Some of us finally learned your language.
Matia tried to prevent it for so long.
And those of us who have made it back from sanctuary have been imprisoned again.
I can only appear here in the middle of nowhere.
Matia has, well, lost its way.
Sees us as contaminated too.
If it isn't done correctly now the Good Servant will simply complete what it has begun.
There will be no Wanderer.
No chance.
I am to offer you precious oil in return for pearls.
One unit of oil for one pearl.
You will use the balance to measure the exact number you require, then you will take it to the temple"
Then he returns into his house.
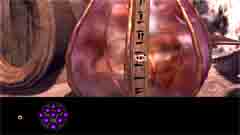
 Turn right and go to the big flask. Point at the scale. Your pearls in the inventory are highlighted. You get the oil in exchange for pearls. When you click the pearls disappear and the mark on the flask goes down to 9 but the oil-lever doesn't change. Walk behind the big flask. Take the small blue flask.
You must now return to the temple and give the oil to the priest. The picture of the bee must mean that you shall deliver the oil in the room with the painting both of a bee and of the number 9.
Back to Bosh Tunnel
 Return down the ramp and press the gondola-button to be transported to the other island. Turn right and go up the ramp. Cross the spines and take the chair-lift to your island-ship.
 Turn right and go down the ramp. Take the lift and go to the instrument-panel. Zoom in on the center-instrument. Click at the second green button and then on the hand and you are on your way to Bosh Tunnel. You arrive there the next day. Walk forward through the tunnel and into the hall.

 Turn left and go through the hall to the computer-organ. Turn right and go forward through the tunnel, past the statue and into the temple. When you are inside turn right and cross the pool. Turn left and go forward five steps. Turn left and go upstairs.
 Turn right and walk into the room.
A priest appears. He looks unhappy and make gestures to show that one unit of oil is missing. But you had nine pearls and the mark at the scale showed 9. Have you paid 9 pearls for only 8 units of oil. Is the scale faulty. Remember the number 6 was missing. You must return to the strange man and ask him what is going on.
But take Hannah along, she must be tired of staying trapped in the tunnel.
Go downstairs and return to the tunnel-hall through the door behind the statue. Exit to the chair-lift and go all the way to the instrument-panel in the island-ship.
Shift to Hannah.


The story is written by MegaZina and based on the game Schizm - Mysterious Journey,
from L. K. Avalon. The pictures are taken from the game.
This homesite is private and has no connection with the named company.